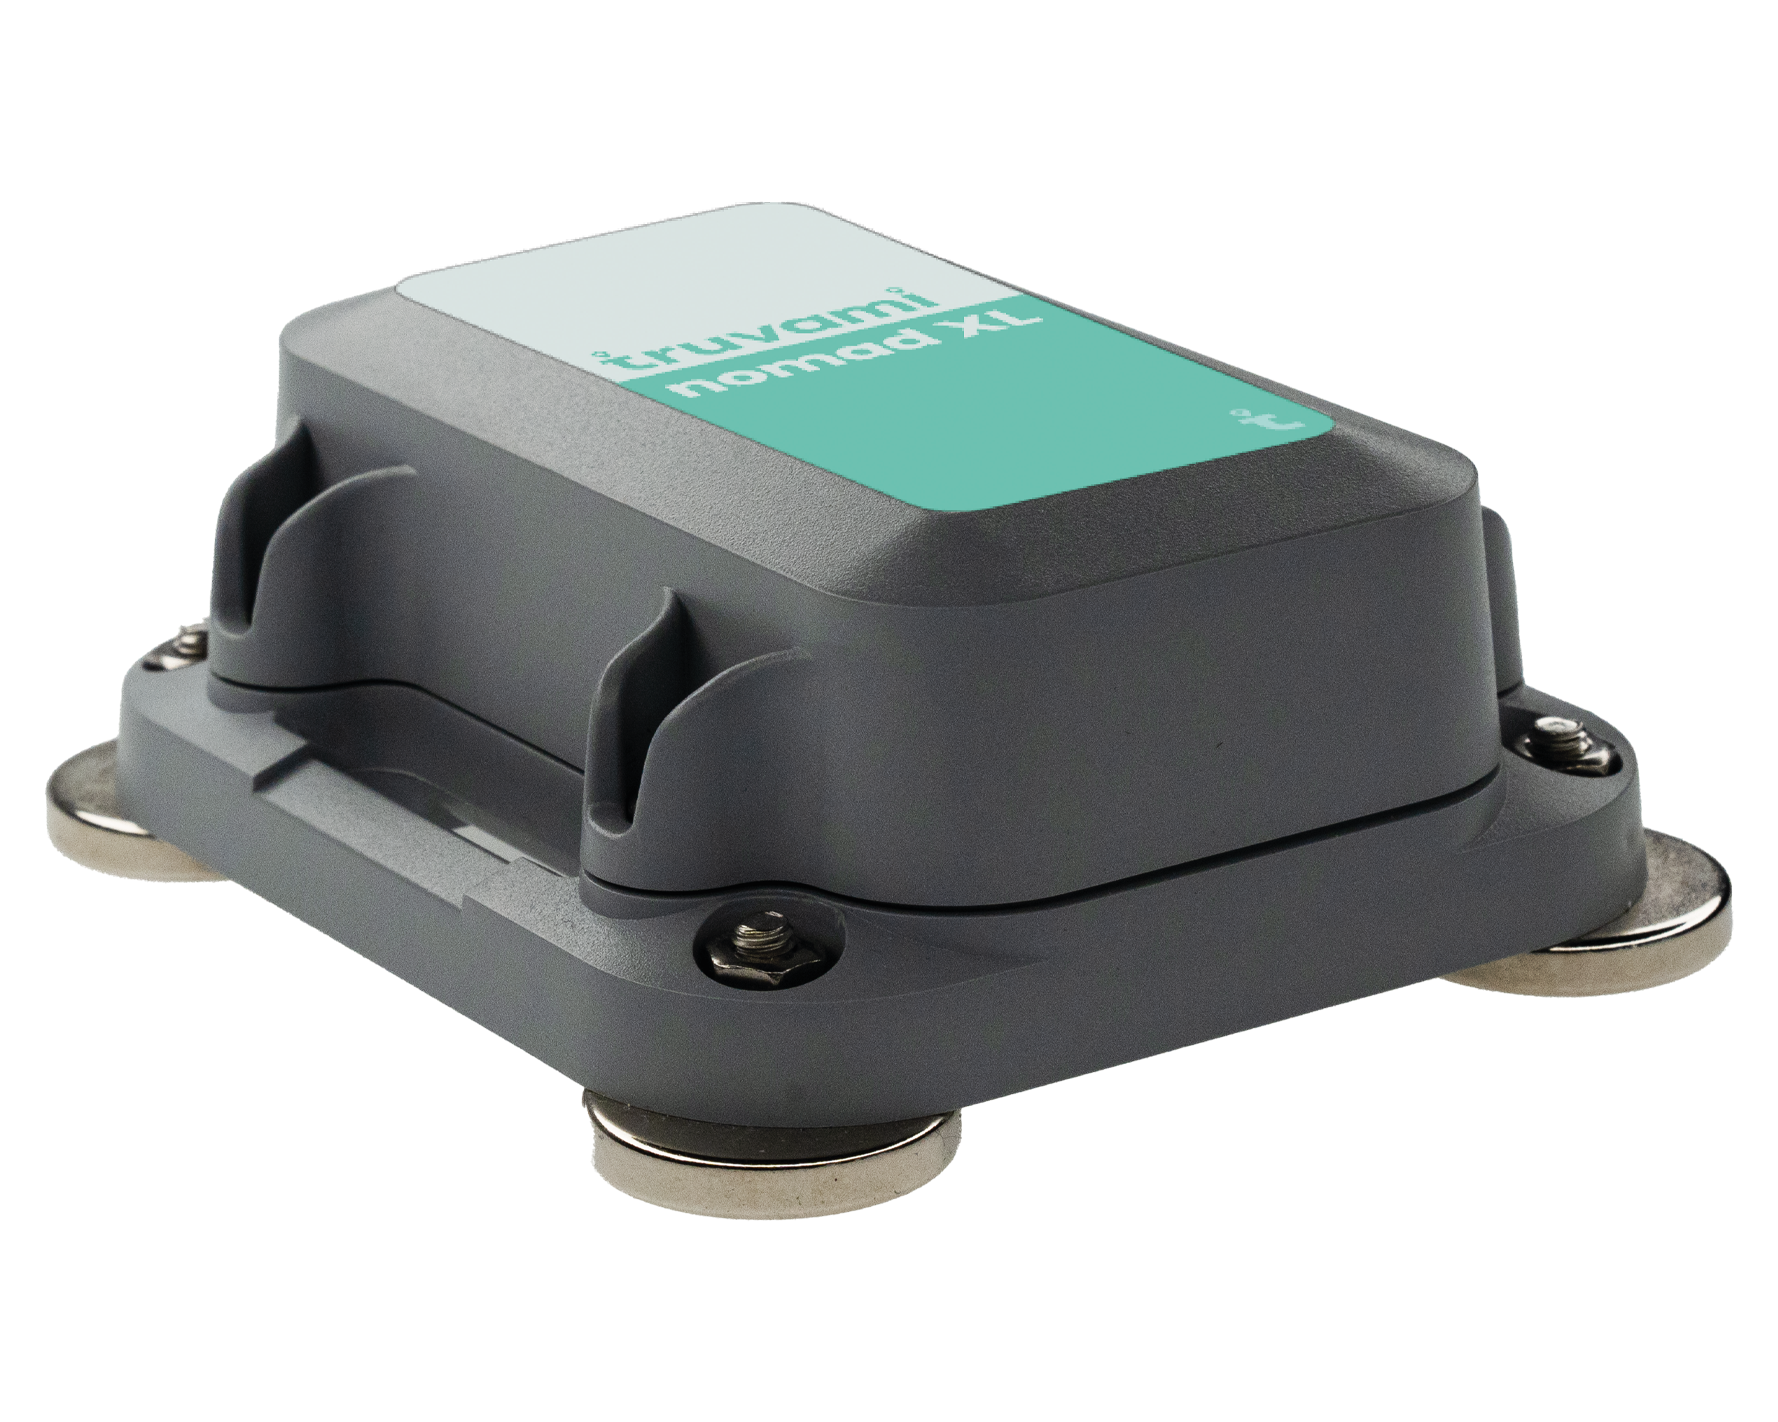
Getting Started Guide of nomad XL
This document details the step-by-step instructions about how to set up the Truvami nomad XL.

Versions: 1.0.0
Date: 2024-06-20
1. Pull the battery pull tab
Carefully pull on the battery tab until it is removed completely from the tracker. The pull tab is not used anymore.
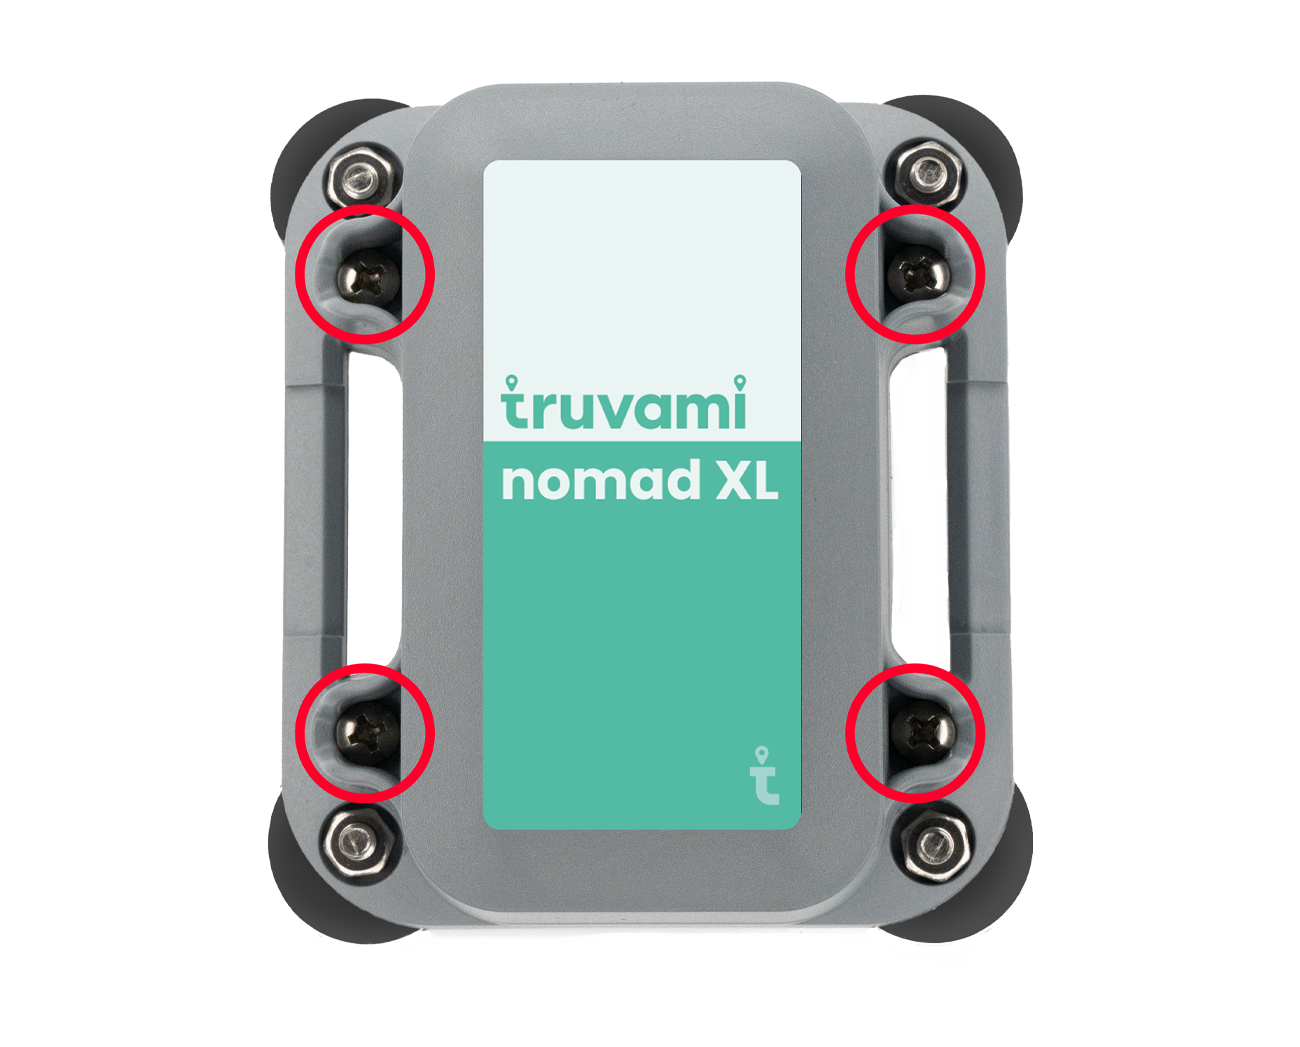
2. Tighten the screws firmly

3. Click on the activation link that you have received by email
it will take you to the https://dashboard.truvami.com page where you can set your password
Troubleshooting
In the event that the device fails to join, consider the following list of workarounds:
1. Check your LoRaWAN coverage.
If applicable, plug in your LoRaWAN Gateway. In case you have your own network server, check on there if data is coming through.
2. Reset the device using the magnet:
Hold the magnet against the front side of the housing for at least 10 seconds. The device should restart, accompanied by the Truvami startup melody. If the melody plays but the device remains unjoined, repeat the claim process outlined in the getting started guide. If the startup melody does not play, proceed to step 2.
For support, please submit a ticket. We will provide support as promptly as possible.
For questions, please write an email to [email protected]